Hello, lovely ladies! Today I am going to be doing a “get ready with me” tutorial for you guys on my everyday makeup routine. I am going to show you the items I use, how I use them and where you can find them!
I plan on doing some more fun makeup tutorials but for now, I thought I would start with the basics. This is my go-to makeup routine and it is very easy. I’m by no means a makeup artist, but nobody who reads my blog is a makeup artist (unless, obviously, you are..then I am super jealous of you). Sometimes it can be hard to copy MUA tutorials when you don’t have all the right products and 600 brushes. I only use a handful of brushes and most of my products are easy to find or at least easy to duplicate (check out this list of mascara and eyeliner dupes here I wrote about a few months ago..I plan on doing a comprehensive list of makeup dupes in the next few weeks for you guys as well!)
Okay okay. So let’s get into this:
STEP ONE: Concealer
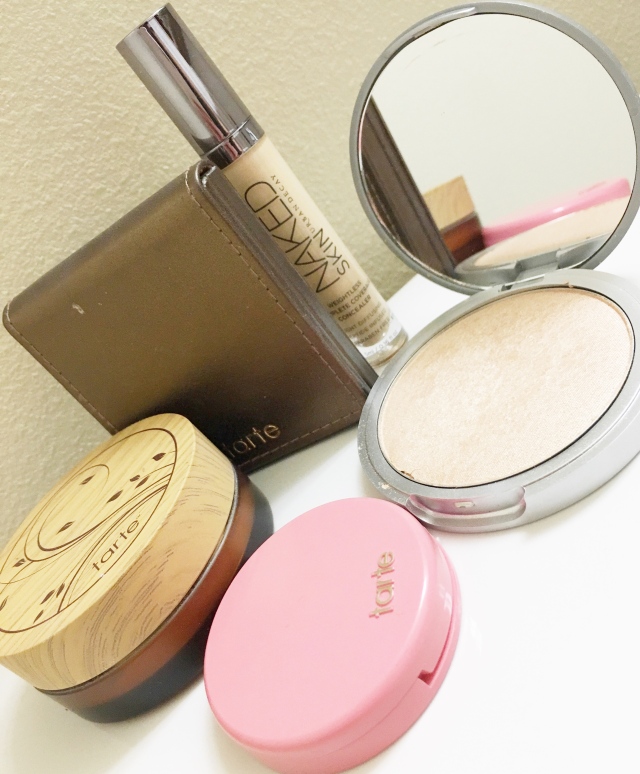
Urban Decay’s Naked Skin Weightless Complete Coverage Concealer: $28
It is important not to skip this step if you have blemishes or dark circles underneath your eyes. I can never skip this step because my under eye circles get super dark and then I look like I was punched in the face (not usually the look I’m going for, ya feel?)
You are going to look like you have war paint on your face and thats okay (I like to take this time to pretend that I am about to go into battle or something awesome instead of running to the store or to class).

Here I am looking really really good in my war paint. I use the shade Light Warm. Here are a few tips for applying concealer correctly:
- It should be a few shades lighter than your skin
- Your T-zone should be targeted (forehead, nose, chin)
- Do a triangle shaped patch of concealer underneath your eyes
- Spread out with beauty blender (find them here)
STEP TWO: Foundation
Tarte Amazonian Clay Full Coverage Airbrush Foundation – $36
During the summer, I only use a light dusting of powder foundation. I save my liquid foundation for the winter months when I am a little more pale and need a little more coverage.
I use a fluffy foundation blush to concentrate most of my product on my t-zone. I don’t need very much coverage on my cheeks but I do right underneath my eyes and on my forehead and chin. You will determine where you need the most coverage on your face as it varies from person to person.
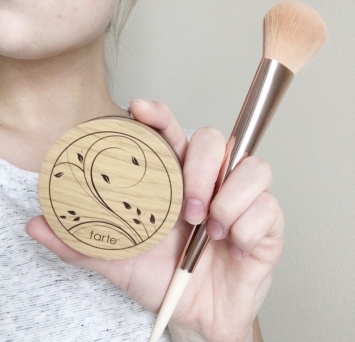
This is my favorite powder foundation because I don’t feel like it looks cakey AT ALL. I am always concerned that powder will settle into the fine lines around my eyes and around my nose but this stays all day and I love it.
STEP THREE: Bronzer, Blush, Highlight
Tarte Matte Waterproof Bronzer – $30, Tarte 12-Hour Blush – $28, The Balm Mary-Lou Manizer – $24
I use Park Avenue Princess for the bronzer, Glisten for the blush, and there is only one highlight shade for the Mary-Lou Manizer.
For bronzer, I use a dense bronzing brush to apply a lot of color under my cheek bones, at my temples, down the sides of my nose and a little bit around the jaw. I bought this brush at Target from the E.L.F. collection. It was $6 and does an amazing job. Just shows that you don’t ALWAYS need to spend hundreds of dollars to look fabulous (and since I’m a poor newly wed college student…I have to feed my husband and cat before I can spend money on makeup..apparently).


For the blush, I use my fluffy foundation brush and put it on the apples of my cheeks. For the highlighter, I put it above my cheek bones and a little bit above my eyebrows. I also use a little bit down the center on my nose and on my cupids bow on my mouth. I like this highlighter because it gives me just enough glow without looking oily (a problem that I seriously struggle with. If any of you know how to stop the oil, PLEASE let me know).


Guys my eyebrows are KILLING it in these pictures. Thank goodness my next step is doing my eyebrows so we aren’t forced to look at this anymore. (I’m very sorry that I have subjected you to this..I’ll make it up to you I swear)
STEP FOUR: Eyebrows
Benefit Gimme Brow – $24, Anastasia Dipbrow Pomade – $18
I have just been recently introduced to the brow game. I am still learning but I am really liking them so far. They give my brow definition and I feel like it really pulls my face together. Disclaimer: it can be REALLY easy to go heavy handed with these products. A little bit goes a long way. We want defined brows not obviously drawn in brows.

I use the Gimme Brow first to give my brows some color and then from there I fill in the shallow parts of my eyebrow with the Dipbrow Pomade (I use Anastastia’s #12 brush with spoolie to do this).
STEP FIVE: Eyes
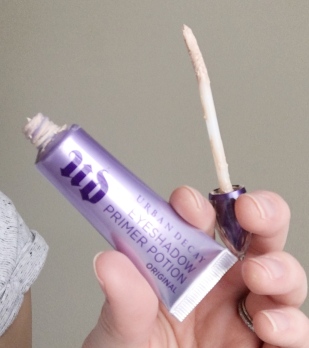
Urban Decay’s Eyeshadow Primer Potion – $20,Urban Decay’s Naked 2 Basics Palette – $29, Urban Decay’s Naked 3 Palette – $54, Maybelline Eye Studio Master Precise Ink Pen Eyeliner – $7.99, Better Than Sex Waterproof Mascara – $23
Some people will say to do eyes first to avoid fallout on your face after you’ve already put on foundation. If that’s how you like to do it, totally go for it! I personally like to complete my face by doing my eyes so I wait until the end. I find if I do have any fallout, I use my damp beauty blender to tap underneath my eyes and that picks it all up just fine. I mostly have to use this when I use shimmery shadows, as matte shadows don’t usually have as much fallout.
I start with putting a small amount of Urban Decay’s eyeshadow primer potion. If you use too little your shadow will crease, and if you use to much it will crease as well. You’ve got to find that sweet spot of exactly the right amount to cover your lid without over or under doing it.
I then use this eyeshadow to cover my lid. It matches my skin color so I have an easier time blending my other colors onto my lid. If you put the shadow directly onto the primer before a base color, it will stick and look patchy (pretty much the opposite of what we are going for, you know?)


My go-to base shadow is “Stark” from the Urban Decay Naked 2 Basics palette. (FYI this whole palette is my favorite eyeshadow to travel with! More on that later).
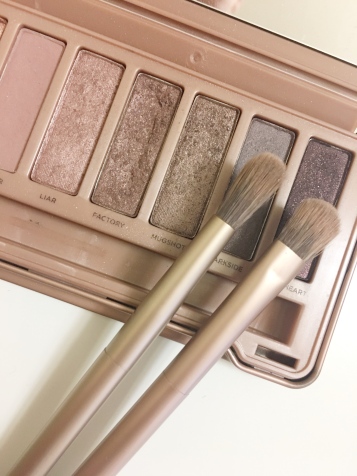
Next I go in with a blending color and a crease color.


It will look something like this! The blending colors that I like to use as some of my everyday colors are from the Naked 3 Palette, Factory and Mugshot.I use my fluffy all over lid brush for Mugshot and then put Factory into the crease of my eye with the longer blending brush.
The part that goes missed most often, I think, is the highlight in the corner of your eye and right underneath the eyebrow. I don’t like to go without it because it really brightens up your face and makes your eyes look bigger. I use NYC shadow powder. It’s super inexpensive, incredibly pigmented and lasts years (even when using it every day).
Eyeliner comes next and that is probably one of my favorite parts of makeup besides mascara. I typically do a little wing on normal days because it extends my eyes out a little bit and classes up my normal every day look.

Last but not least, comes the mascara. My all time favorite part of doing my makeup. Lots of people will do tutorials and add fake lashes to their eyes but I don’t really like fake lashes. I just use Better Than Sex mascara and it gives me enough volume and length that I don’t feel like I need the falsies (with the exception of my wedding day: I did wear individual false lashes so they would photograph a little bit better).
 I use a basic eyelash curler to curl my lashes and then add three coats of Better Than Sex mascara to my top lashes and one coat to the bottom lashes. That is almost always enough to add the fullness and length that I like.
So here is the finished look (featuring my spectacular IV bruise from my hospital trip last week):

Let me know what you think in the comment section! If you like what you see here and would like me to do some more tutorials, please let me know! Be sure to tag me in your photos if you try this look out on instagram (@blondeandambitiousblog or #blondeandambitious). I love seeing what you guys can do!!

https://popiuliaanca.wordpress.com/
LikeLiked by 1 person
I’ll check it out. What did you think of the post? 🙂
LikeLiked by 1 person
I love it 💕❤
LikeLiked by 1 person
Thank you! Love your site!! I am reading through posts now 🙂
LikeLiked by 1 person
Thank you very much 😍
LikeLiked by 1 person
Great post! Love it ❤️
LikeLiked by 1 person
Thank you so much!!!! 🙂
LikeLiked by 1 person
You’re very welcome beauty 🎀
LikeLiked by 1 person
Gorgeous makeup! I love the Urban Decay primer and Naked Palette. 🙂
xo Brie
http://www.sophistifunkblog.com
LikeLiked by 1 person
Thank you!!! I love those products!!!
LikeLike
You are glowing! Tarte’s powder foundation has been on my list to try for sometime now. I tried their liquid foundation but couldn’t find a good skin match.
LikeLiked by 1 person
Try their powder foundation! It is the ONLY one I have tried that doesn’t completely dry out my skin. 🙂 So perfect for summer months!!!
LikeLike
Now I have some shopping to do !!Thanks for sharing it . Very helpful !
LikeLiked by 1 person
No problem! I’m glad you found it useful!! 🙂 They really are awesome!
LikeLike
Great tutorial! I also add “wings” to my eyes. Mainly because I have huge eyes and adding the wings makes them look slim!
LikeLiked by 1 person
I love that!!! Wings are so versatile!!
LikeLike
Great post and tips! You are very pretty!
LikeLiked by 1 person
Thank you so much Missy!!!!
LikeLike
Beautiful! Thanks for posting x
LikeLiked by 1 person
Thank you so much!!
LikeLike
Love your routine; simple and so beautiful! I use the non waterproof version of that mascara and love it as well.
xo, alice / T Y P E N U
LikeLiked by 1 person
Thank you so much! Better Than Sex is hands down the best mascara!!!
LikeLike
You look gorgeous! So naturally radiant and put together! I also love how you did your hair!
LikeLiked by 1 person
Thank you so much!! 🙂 It is my go-to hairstyle lately because it is SO easy and takes under 5 minutes.
LikeLike
I haven’t tried gimme brow yet, I am going to have to put it on my list because yours look amazing!
LikeLiked by 1 person
Thank you!! Seriously do! It works perfectly to give my brows a little bit more color and keeps them in place all day!
LikeLike
LOVE! Your eyes look amazing!
LikeLiked by 1 person
Thank you SO MUCH!! 🙂
LikeLike
What a stunning look!
❤
LikeLiked by 1 person
Thank you so much!!!
LikeLike
Pingback: How To Apply Eye Makeup – Perfectionist You
Loving this tutorial – especially the cover up and eye make up sections!
LikeLiked by 1 person
Thank you!!! It is so easy once you learn how to do it. 🙂
LikeLike
Super cute makeup look! Love your hair too! I have never tried Tarte products but I hear so much about them!
LikeLiked by 1 person
I definitely recommend them! Great pigmentation so you don’t go through them as fast!
LikeLike
You look amazing!! I love the inner corner highlight; I am so buying that NYC powder you talked about. I love the Naked products and have been wanting the basics palette since it was released, but I only have the first Naked palette. I love it, though! Great tutorial! 🙂
https://alittlesliceofjamie.wordpress.com/
LikeLiked by 1 person
Thank you so much, Jamie! The link to that NYC sparkle eye dust is this: http://www.drugstore.com/nyc-sparkle-eye-dust-golden-champagne/qxp471105 but you can find it at most drugstores! 🙂 I have all three Naked palettes but I haven’t gotten the Naked Smokey yet. Someday 🙂
LikeLiked by 1 person
I added it to my Amazon wish list! Thanks!! 🙂
LikeLike
Your eye makeup is gorgeous! I need to learn how to do it like you 🙂
LikeLiked by 1 person
Thank you so much!! I am planning on doing some other looks as well so stay tuned 🙂
LikeLike
This is an awesome post! I love seeing what others have in their everyday makeup bag 🙂
Chelsea | http://coffeewithchels.com
LikeLiked by 1 person
Thank you Chelsea!!!! It’s a lot of fun 🙂
LikeLike
Looooveeee this makeup look! That cat-eye is PERFECTION!
XO Amanda | http://www.glitterandspice.com
LikeLiked by 1 person
Thank you Amanda!!!! It took me FOREVER to perfect the cat eye, but it’s finally second nature 🙂
LikeLike
You look gorgeous! Love your hair by the way.
LikeLiked by 1 person
Thanks so much!
LikeLike
Pingback: Research Post – Everyday Lashes